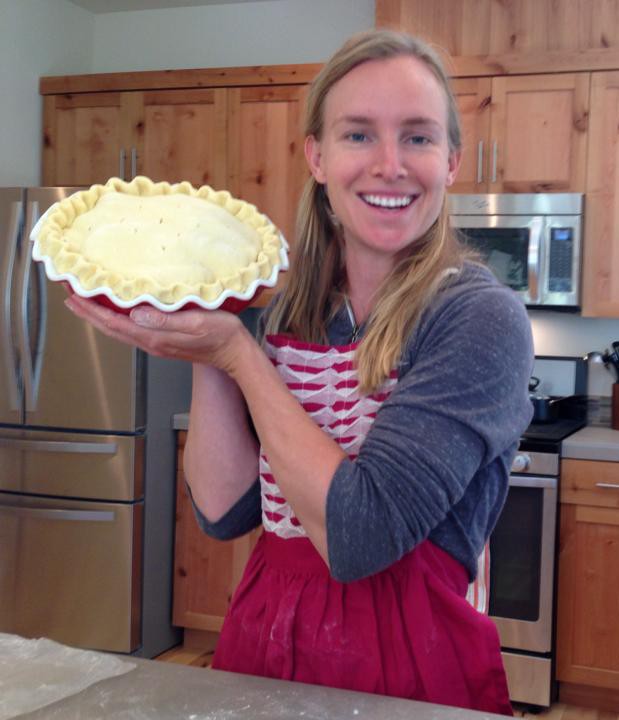
 No lover this Valentine’s Day? No problem. If you make this chocolate pie, you will have a line of suitors at your door, red roses in hand. Homemade pie was my mother’s secret weapon in wooing my father to the marriage altar. If apple pie is that powerful, get ready to up the game with this pure chocolate poetry. I made 11 of these pies for my wedding reception, and everyone fell in love.
PS. This is vegan, gluten-free, somewhat raw, paleo, and fad-diet-of-the-moment approved, so you and the most finicky beau can partake without hesitation.
Simply follow this recipe for love:
Crust:
- 2 C Walnuts
- 6 Medjool Dates
- 1 tsp Cinnamon
- Dash salt
Process all ingredients in a food processor until grainy yet course and just sticking together. Sometimes I add a tablespoon or two of coconut oil when processing just to give the crust a bit more staying power. Press into a pie pan or springform pan. A 7″ springform provides a lovely final presentation.
Filling:
- 1 C Coconut Cream (taken from a can of full-fat chilled coconut milk)
- 3 oz Dark Chocolate (Theo 85% dark is the best!)
- 1/4 C Coconut oil
- 2 tsp Vanilla Extract
- 1/2 C (about 8) Medjool Dates
- First, rewind to yesterday and put your can of full-fat coconut milk in the refrigerator. Overnight should do as well. I recommend Thai Kitchen or Native Forest brands. 2 small cans of the coconut cream work quite well also. No need to chill. I recommend having these on-hand anyway as your don’t-panic backup in case the coconut milk does not separate water from cream. The idea is to chill the coconut milk, making the cream harden, so you can merely pour the water (or scoop the cream) off the top.
- Once your coconut cream is sorted out, gently melt it along with the chocolate and coconut oil in a saucepan. Use very low heat to avoid burning the chocolate.
- Add the vanilla and remove from the heat.
- Add the dates to a food processor and pour in the melted ingredients. Process until perfectly smooth. I have had success with blending in my VitaMix and blending with my Kitchen Aid hand-held immersion blender as well.
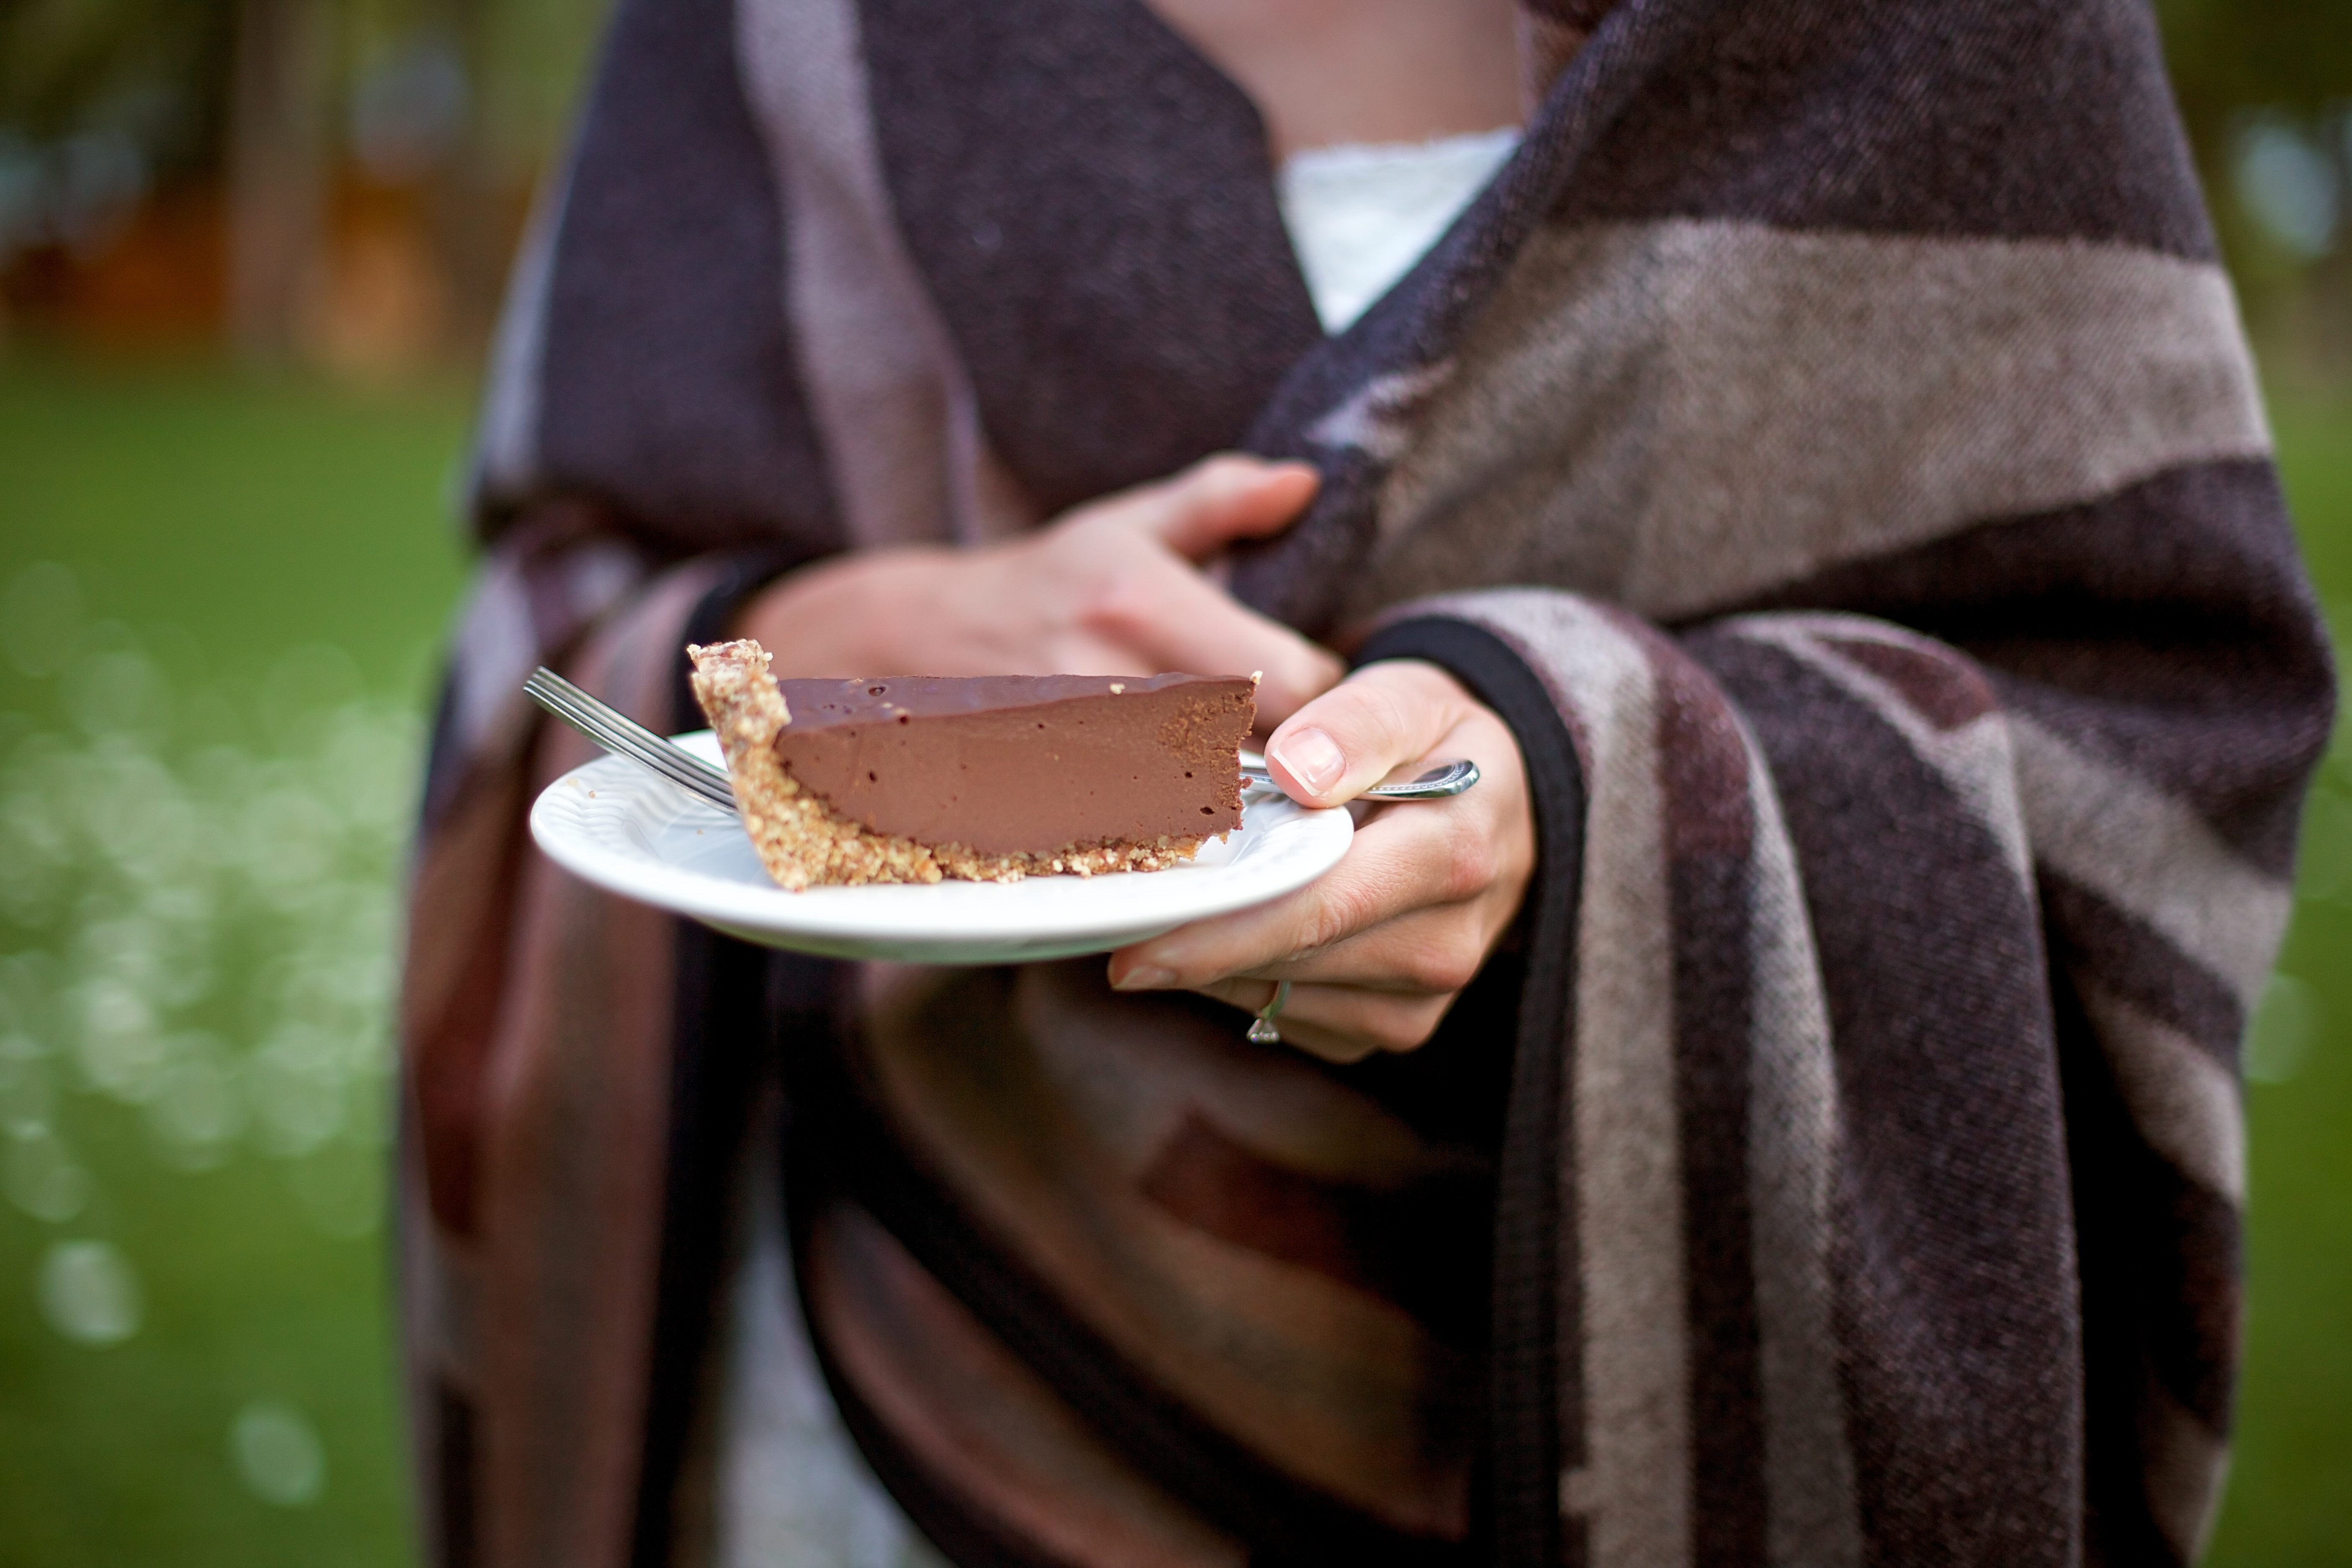
- Pour the chocolate filling into the nut crust and chill in the refrigerator or freezer.
- Serve with Whipped Coconut Cream or homemade ice cream.
What are you waiting for? You’re definitely not getting any younger….

By the way, I cannot take credit for this brilliant formula. It comes from Kelly Brozyna, also known as the Spunky Coconut. Check out her book for more chocolate-y ways to impress your sweetheart.