Macaroons & Ugly Christmas Sweaters

What would you rather get for Christmas:

  1. A really ugly Christmas sweater like this one:ug_sweat1
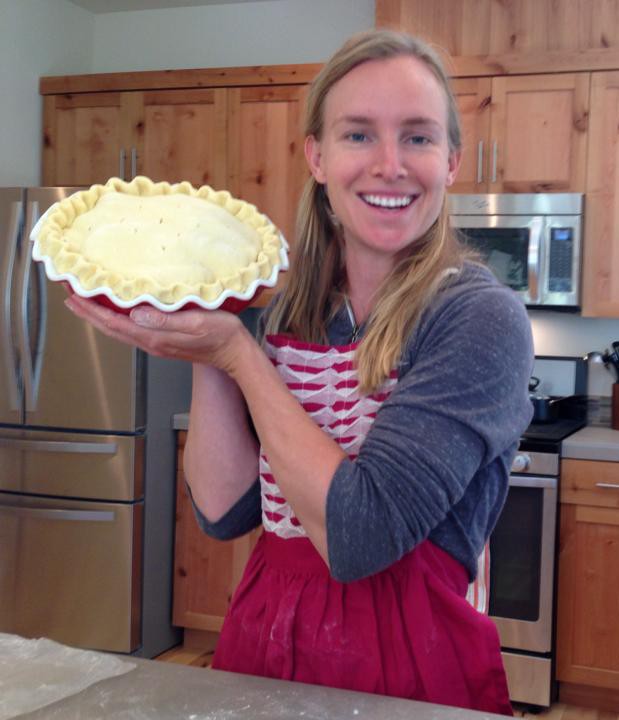
  2. A jar of these amazing macaroons, hand-made with love and adoration by yours truly:IMG_0206

It’s probably safe to say your friends, family, & neighbors would choose similarly…

So don’t bother wasting a perfectly good Saturday fighting the Christmas-crazed consumers in suburban mall parking lots to throw your away your hard earned money on plastic trinkets made in China that will certainly end up at Goodwill 4 days later in exchange for a tax receipt…

Stay home and spend some quality time with your food processor to make these lovely macaroons that will win everyone’s hearts — young and old, vegan or gluten-free, rich or famous…

If you’re just looking for the Christmas sweater, see HERE. Otherwise, read on for the macaroons.

How to make the best, blonde, chocolate-covered, healthy macaroons:

First, turn on an interesting podcast and get out your food processor.2015-12-19 09.43.01

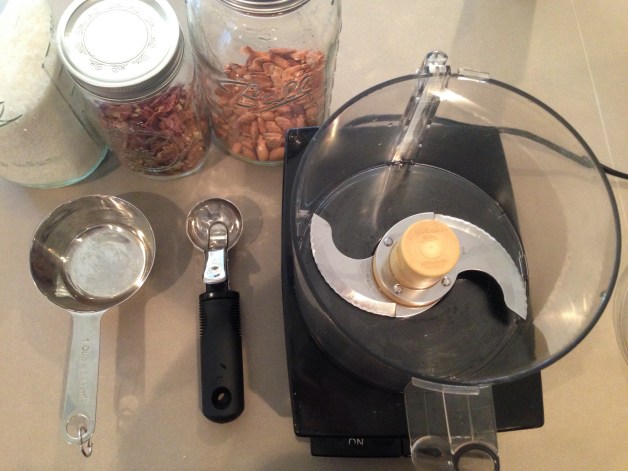
Gather the Ingredients:

  • 2 Cups of plain, raw nuts. Most any kind will do, but this is my favorite mix:
    • 1/2 C Macadamia nuts
    • 6 Brazil nuts
    • 1/2 C Pecans
    • 1 C Almonds/Hazelnuts
  • Dates. 24 if using sun dates. 16 if using Medjool.
  • 4 C of plain shredded coconut (ensure it’s truly just coconut. No sugar added or anything else)
  • 3 T Coconut Butter
  • 1 tsp Vanilla Bean Powder
  • 1 tsp Cinnamon
  • 1/2 tsp Sea salt (unless you’re actually using pre-salted nuts)
  • 2 T Coconut Oil, melted
  • 1 Theo 85% or 70% dark chocolate bar

Procedure:

  1. Add the nuts, dates, and half the shredded coconut to the food processor and pulse until coarsely ground.
  2. Add the remaining shredded coconut along with the coconut butter, cinnamon, vanilla, and sea salt. Process until thoroughly combined.
  3. Add the melted coconut oil while the processor is still running.
  4. Scoop out each macaroon using an ice cream scoop and place on a cookie sheet.
  5. Refrigerate until hardened.
  6. While the macaroons are cooling, gently melt the chocolate bar in a double boiler. Key word: Gentlyyyyy….. If you don’t have a double boiler, don’t fret! I don’t either! I stay classy by placing a glass bowl over a pot of simmering water. However you do it, first and foremost ensure the chocolate does not get burned. Secondly, take safety precautions with your jerry-rigged double boiler.
  7. Once the chocolate is nice and melty (but not burned!), dip each cold macaroon in the chocolate for a nice top coat.
  8. Place them back into the refrigerator for a final cool down.

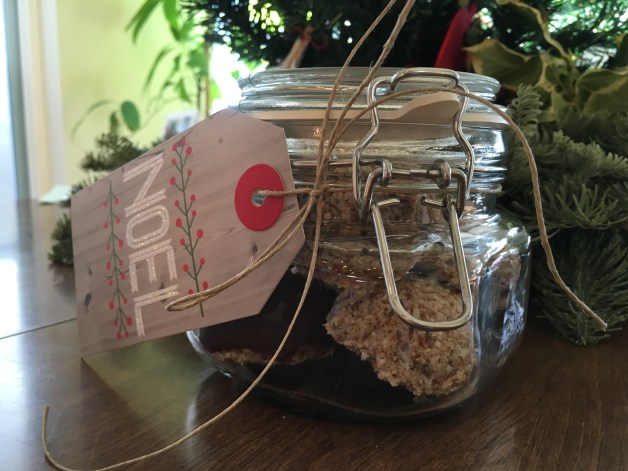
At this point it’s up to you whether or not you want to give them away or keep them all for yourself! But I promise, your friends and enemies will love you forever if you dress them up nicely in a latch lid jar with a bow on top.

IMG_0214

Christmas shopping… obliterated.

Chicken Soup, a couple different ways

Whether I am feeling a bit under the weather or just need some comfort food on a cool, autumn day, chicken soup is my go-to. Besides the traditional recipe, I’ll give you a bonus variation: something like a chicken posole. So if you’re nursing an entire sick family back to health, you can make it week after week and not burn out on chicken soup altogether.

Traditional:

Shopping List (most amounts are approximate and should be adjusted to suit your preferences)

  • 1 whole, organic chicken
  • Sea salt
  • Apple cider vinegar
  • Garlic bulb
  • Ginger root
  • 1 Bay leaf
  • 1 Tbsp Thyme
  • 1 Tbsp Oregano
  • 1 Tbsp Rosemary (or a stalk of fresh)
  • 2 Tbsp of coconut oil, ghee, or butter
  • 1 Onion
  • 3 Celery stalks
  • 3 Carrots
  • 1 Cup of rice (optional)

Phase 1: Cook the chicken and make the broth.

  1. About 8 hours before you plan to eat, rinse the chicken and place breast side down in a large slow cooker.
  2. Add about 2 Tbsp apple cider vinegar.
  3. Add a generous amount of sea salt (I do mean generous).
  4. Crush several (up to 6) cloves of garlic, grate about a tablespoon of ginger root, and toss in the cooker along with the bay leaf, thyme, oregano, and rosemary. Feel free to add other savory herbs. Be generous.
  5. Fill the slow cooker up with cool, filtered water to leave the bird submerged in a salty bath of herbs.
  6. Cook on low for 6 hours while you go about your day. What I love about my slow cooker is that I can set it for 6 hours on low, and it will hang out on warm until I get back around to the kitchen. It pays to have kitchen tools that work around your schedule!

Phase 2: Complete the soup

  1. Carefully remove the cooked chicken from the slow cooker and allow to cool while you complete the remaining steps
  2. Melt the coconut oil, ghee, or butter in a large stock pot on medium low heat.
  3. Roughly chop the onion, celery, and carrot and add to the stock pot. Gently sauté until the onions are translucent, 8-10 minutes.
  4. Add a few more cloves of garlic, finely diced.
  5. Add more savory herbs: thyme and oregano
  6. Place a wire strainer over the stock pot and pour the broth from the slow cooker into the stock pot.
  7. Add a cup of rice and bring to a simmer. If you prefer a more brothy soup, skip the rice.
  8. While the rice is simmering in the soup broth, return to the chicken and remove the meat from the bones.
  9. Add the meat to the stock pot, and eat when you’re ready.

Photo Oct 28, 12 48 45 PM

Chicken Posole Variation
It starts out just like the traditional version but uses a few different ingredients in phase 2.

Shopping List (most amounts are approximate and should be adjusted to suit your fancy)

  • 1 whole, organic chicken
  • Sea salt
  • Apple cider vinegar
  • Garlic bulb
  • Ginger root
  • 1 Bay leaf
  • 1 Tbsp Thyme
  • 1 Tbsp Oregano
  • 1 Tbsp Rosemary (or a stalk of fresh)
  • 2 Tbsp of coconut oil, ghee, or butter
  • 1 Onion
  • 1-2 Tbsp whole cumin seeds
  • 1 Jar of Barcelona’s Green Tomatillo Cooking Sauce (if you can’t find this in your grocery store, you can substitute with a medium red tomato salsa. It’ll be a little different but still great)
  • 1 Can (or about 2 cups cooked) garbanzo beans
  • Purple cabbage (about 2 cups)

Phase 1: Cook the chicken and make the broth.

  1. About 8 hours before you plan to eat, rinse the chicken and place breast side down in a large slow cooker.
  2. Add about 2 Tbsp apple cider vinegar.
  3. Add a generous amount of sea salt (I do mean generous).
  4. Crush several (up to 6) cloves of garlic and toss in the cooker along with grated ginger root, the bay leaf, thyme, oregano, and rosemary. Feel free to add other savory herbs. Be generous.
  5. Fill the slow cooker up with cool, filtered water to leave the bird submerged in a salty bath of herbs.
  6. Cook on low for 6 hours while you go about your day.

Phase 2: Complete the soup

  1. Carefully remove the cooked chicken from the slow cooker and allow to cool while you complete the remaining steps
  2. Melt the coconut oil, ghee, or butter in a large stock pot on medium low heat.
  3. Roughly chop the onion and add to the stock pot.
  4. Add the cumin seeds and sauté until the onions are translucent, 8-10 minutes.
  5. Add the Barcelona’s green cooking sauce (or tomato salsa)
  6. Place a wire strainer over the stock pot and pour the broth from the slow cooker into the stock pot.
  7. Add the garbanzo beans and roughly chopped purple cabbage.
  8. While the soup is simmering lightly, return to the chicken and remove the meat from the bones.
  9. Add the meat to the stock pot, and serve when you’re ready. Garnish each bowl with sliced radishes, cilantro, and avocado.

Feel free to add more of your favorite veggies or potatoes, rice, or squash to make it more hearty. You can add almost anything to create great variations.

Trade up your coffee jitters with Matcha !

The most memorable espresso. @Ristr8to in Chiang Mai Thailand

The most memorable espresso. @Ristr8to in Chiang Mai Thailand

What’s better than a perfectly prepared espresso?

Almost nothing. (Ok, maybe chocolate.)

But what if you just don’t care for coffee (are you human?) Or maybe coffee just wigs you out?

There is hope for you with Matcha. A lovely green tea with grassy flavor and potent antioxidants, enhanced with a touch of sweetness and rounded out with a touch of coconut milk.

Check out this article from the Portland Monthly to find out why your brain and body like matcha green tea.

So you won’t be the odd-man-out whilst hanging with your latte-sipping comrades, order up a Chai Matcha Latte.

This is the recipe I’ve settled on for most days:

  1. Set water to boil.
  2. Pour a few tablespoons of coconut milk into a blender.
  3. Sprinkle in a few shakes of spices such as cinnamon, nutmeg, cardamom, turmeric, and ginger. Perhaps a touch of allspice and a pinch of sea salt too.
  4. To sweeten, add 1 tablespoon of xylitol (about 7 drops of liquid stevia works too if you prefer it).
  5. Give it a protein boost by adding 2-3 tablespoons of hydrolyzed collagen.
  6. Don’t forget the matcha powder! Add about 1/2 tablespoon, depending on how much caffeine boost you want.
  7. When the water is finally boiling, pour it first into your mug (to measure).
  8. Then pour the water from your mug into the blender with your other ingredients.
  9. Blend thoroughly for about 10 seconds, and pour it into your mug…. or a colorful espresso cup if you’re feeling dainty.

Enjoy a sip of your new jitterless coffee substitute: spiced matcha green tea.

Photo Apr 20, 8 39 25 AM

The Art of Pie

10514509_10152977629692334_691534768753842063_nTruly delicious, homemade pie is hard to find, yet everyone loves it. Cookies and cakes abound, but why is pie so rare? The art of pie is daunting and elusive. But with a few key insights, even you can bring a superior pie to the table.

Primary pie rule: Make the pie from scratch — even the crust.


Amateur mistake number one is buying a pre-made crust from the grocery store. Store-bought crust leads to unremarkable results. Whether from laziness or intimidation, most people default to the grocery aisle to seek out a read-to-go pie shell because they don’t know the following key insights that I am going to share with you:


1. In general, a successful pie crust utilizes a 3:2:1 ratio of flour to fat to water. To increase the delicious factor, add a dash of salt.
Pro tip: Contrary to popular belief, sugar is actually not necessary in either sweet or savory pie crusts.


Vodka…this pie knows how to party

2. Use a food processor to combine cold butter into the dry ingredients. Process into a sand-like texture then add the wet ingredients. Process until the dough forms itself into a ball.
Now here’s what most people don’t know: substitute half the water for a 1:1 vodka-vinegar mixture. This reduces the gluten-forming factor that makes pie crust tough. Cold ingredients, as well as the use of vinegar & vodka, will help you achieve a delicate, flaky texture. Yeah… this pie knows how to party.


3. Roll one half of the dough ball out onto a floured surface using a rolling pin. Keep the second half cool in the refrigerator while you work. Flip and re-flour about halfway through.
Here’s where most people go wrong: They pick the crust up with their fingers to place it into the pie pan, and the dough tears. The pros avoid this mistake by using the rolling pin to transfer the dough into the pie pan. Simply roll the flattened dough up onto the rolling pin, then roll the dough out over your pie pan. This avoids rips, sadness, and tears.


4. Fill your pie shell with your filling of choice. Any good recipe will do. Most people focus on the filling, but they don’t realize that this accounts for only 20% of the deliciousness of the pie. True pie connoisseurs know that 80% of pie success comes from a flaky, tender, golden crust. Remember, it is the crust that takes your pie from merely good to majorly phenomenal.


5. Roll out the second half of the dough to create the top crust. Utilizing the rolling pin as before, transfer the dough and roll it out over the top of the pie. Trim the edges and seal the top and bottom crusts together to make a ridge.
Now take it up a notch: create a pretty, ruffled edge by using your fingertips to crimp. More specifically, pinch the dough ridge between the index finger of your left hand and the thumb & index finger of your right hand.


Congratulations! You are on your way to baking the best pie of your life, dazzling your family at the dinner table, wooing your lover, and turning enemies into friends. You now hold the keys to baking truly delicious, homemade pie.